...a place to illuminate one's creative potential.

Friday, June 28, 2013

Use every piece!

Left over stuff from the up cycle of a mens dress shirt.... 
what can we use the cuffs for?


Little bags!
Fold and stitch edges together.

Oh, the little things I could put in these:
Family jewelry, embroidery scissors,
 ear buds, lipstick tubes, contact case, 
kindle charger, money, business cards, etc. 

Wednesday, June 26, 2013

All dressed up in a man's shirt!

I have been working on a project....
not furniture, 
not napkin rings, 
not art!  
I have been recycling men's dress shirts into 
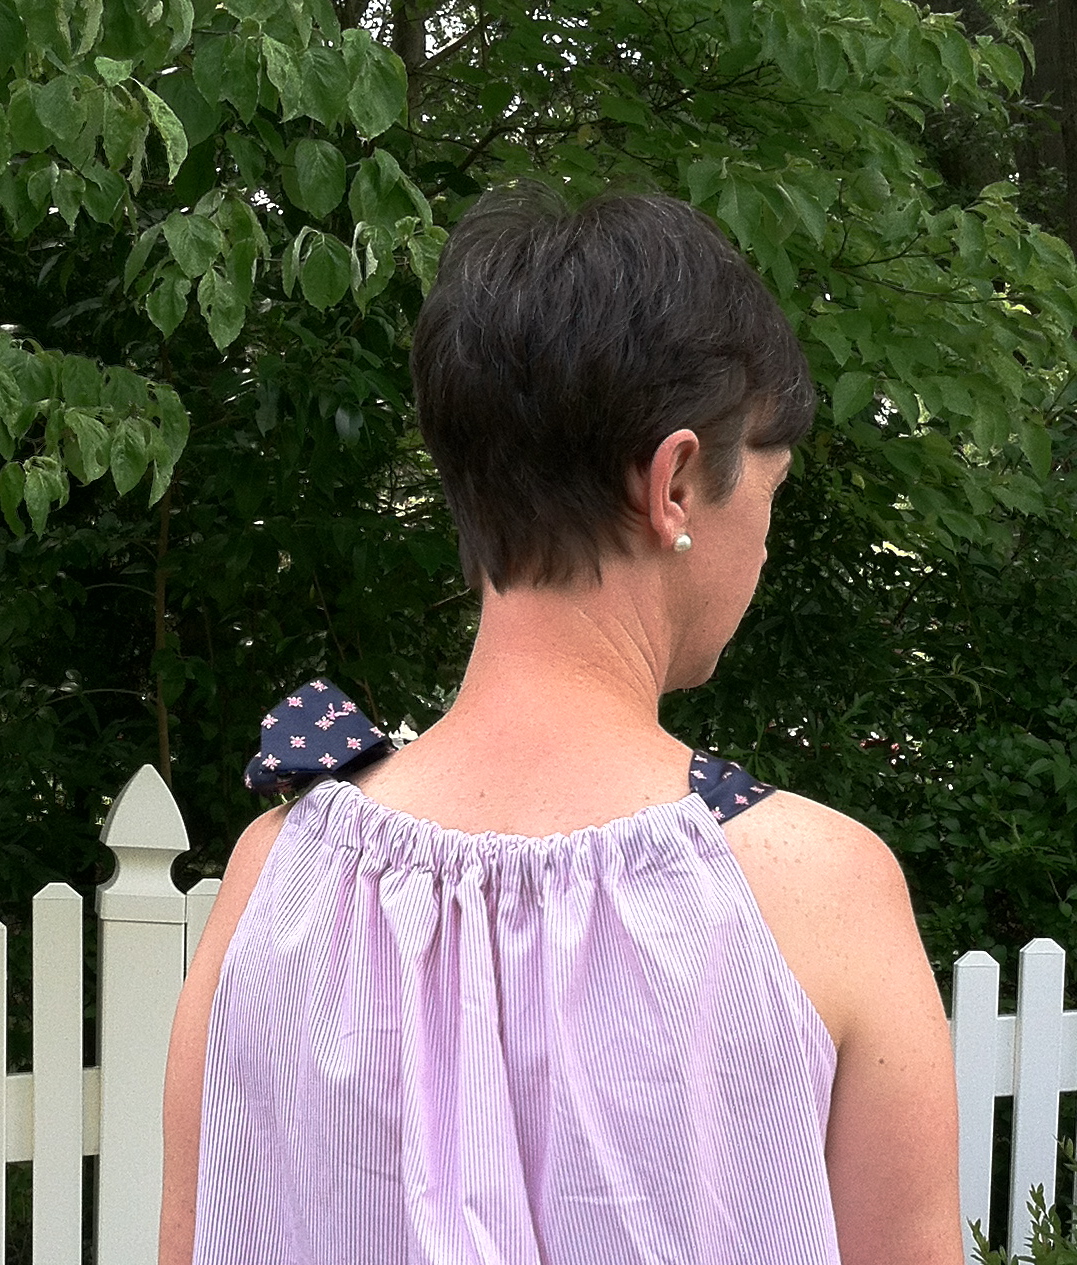
lady size pillowcase tops!


Why should little girls be the only ones to have cute clothes?

I love loose roomy cotton tops and this one feels great on!  Great for wearing around the house or working in the yard.  I think I am going back to Good Will tonight and find a few more shirts and ties.

This was upcycled shirt number 2.
My daughter did the sewing for this one!

(I am not a seamstress, but I figured this out on my own after seeing a picture on Pinterest.  
I am sure any one with basic sewing skills can figure it out and have one done in an hour!)

Just the basic steps:

1. Mens dress shirt in a size larger than you would wear.
2. Remove sleeves and collar.
3. Cut across the top of fabric, just beneath the back placket line to square it off.
4. Use single fold bias tape to sew to and finish off the arm holes.
5. Turn down tops of the front and back. Then stitch to make a casing.
6. Thread a mens necktie through both casings and tie up on one shoulder. Or you could try the simple belt buckle option like in shirt #2.

This was a really fun sewing project!

Monday, June 24, 2013

Patriotic Party: New Art Work


This is a very large mixed media piece.  
Some of the elements included is party paper stuff:
Cupcake liners, doilies, and crepe paper streamers.

This one is going on the mantel for July decor!

I hope I can inspire someone to use all those nifty paper things
 laying around the house in their own mixed media art work.
Or maybe just inspire someone to do
 a little red, white, and blue decorating of their own.

Joining several link parties with this patriotic piece this week:
Nifty Thrifty Tuesday
Inspire Me Tuesday
Savvy Southern Style: Wow Us Wednesday

Thursday, June 20, 2013

Playing house

I am out of school for summer break.  
What have I been up to?  
Playing house!

Cleaning, dusting, moving things around to different places.
 Fun days just staying home!

Tuesday, June 18, 2013

Patriotic Napkin Rings


I have seen these medallions made from paper and ribbon, but when I saw the chevron printed burlap ribbon, I knew they would look great.  I think they are very "Pottery Barn style" cool!
I am still working on the whole table setting......post later!

 Step 1:
Cut burlap red printed wired ribbon 16 inches long.  Cut down the middle.  Cut a 6 inch piece of the blue and also cut it in half.
 Step 2:
Accordion fold one piece of red and the small piece of blue ribbon back and forth.
 Step 3:
Thread string through the cut edge of all the folds.
 Step 4:
Pull the string tight and tie in a knot.  Cut ends close to the knot.
 Step 5:
Fan out the folds until you have a nice evenly spaced circle.
Step 6:  Hot glue a button to the center.


Step 7: 
These were rings with clips already 
on them that were used to hang curtains.  


Clip on the medallion!
Not only did I make the napkin rings, I also made the napkins!
I used a mitered corner napkin tutorial on Pinterest.


Pottery Barn inspired!  
At the store in Charlotte, they have very large burlap medallions 
hanging over their patriotic themed table setting.

Check out this post and other great ideas at Savvy Southern Style: Wow Us Wednesday Link Party.